From growing paper to flowers in 5 steps

You've just given away seed paper, and the questions start pouring in: how does it work? Or perhaps you’ve received a seed paper card yourself and love the idea, but don’t know where to start. No worries! We’re here to help you turn the paper into a colourful flowerbed.
What is seed paper?
Seed paper is not just ordinary paper. It’s made from recycled materials, meaning no trees are cut down in the process. The paper contains seeds that will start sprouting as soon as they are placed in moist soil. Different types of seeds are available, such as summer flowers, poppies, or basil. Curious about the best time to plant each seed type? Check out our sowing calendar.
120 gsm and 200 gsm seed paper
We offer two types of seed paper: 120 gsm and 200 gsm. The 120 gsm paper consists of two thin layers with seeds in between. In 200 gsm paper, the seeds are embedded directly in the paper. Since the paper is handmade, thickness may vary slightly. The 120 gsm paper is thinner, allowing the seeds to sprout faster. Both variants are available in different shapes and sizes.
How does seed paper work?
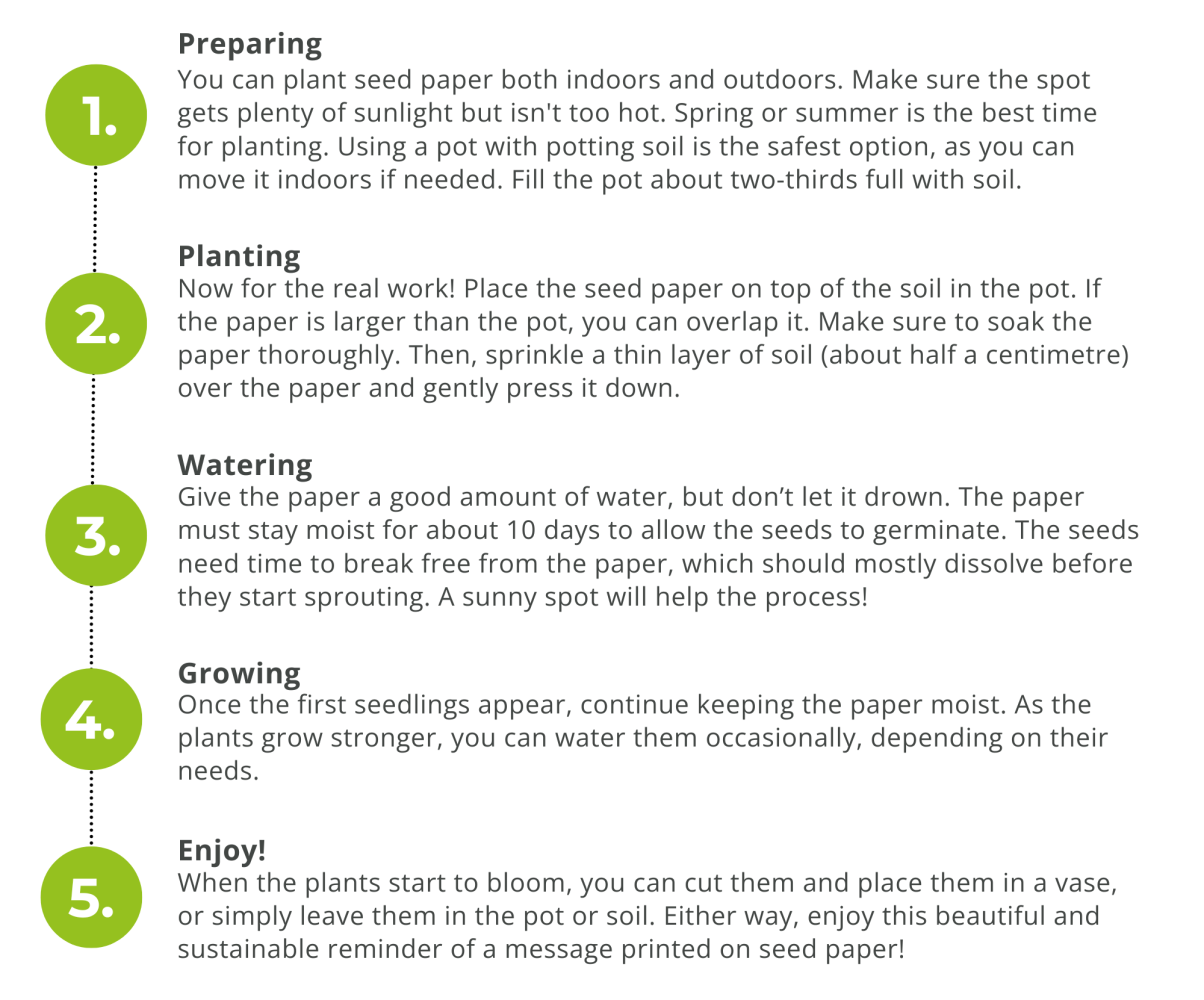
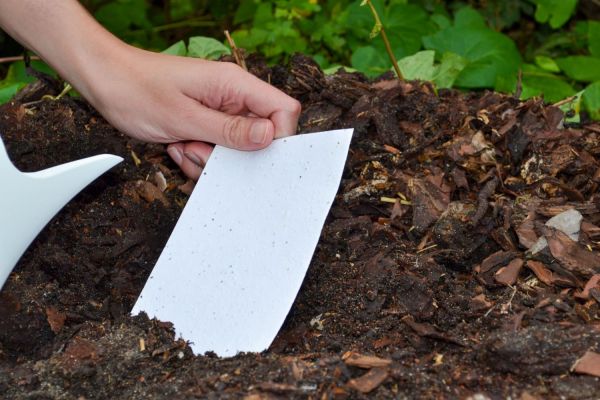
When planted under the right conditions, the seeds in the paper will germinate and start growing into plants. That’s exactly what we want to achieve! But how can you ensure the best results? We’ve put together a simple step-by-step guide to turn you into a green-fingered expert in no time.

What if the seeds don't sprout?
It’s possible that the seeds do not germinate as expected. Keep in mind that seeds undergo quite a journey before they make it from the paper to the soil. They are living organisms, requiring careful handling. One common reason for failure is that the soil wasn't kept consistently moist until the seeds started to sprout. Another possibility is that old soil lacking nutrients was used. We also recommend planting in late winter or early spring. If you’ve received a Christmas card made from seed paper, it’s best to wait until summer.
With these tips, we can hardly imagine anything going wrong. Treat your seed paper with care, and it will reward you with beautiful flowers!
Follow us on social media
Be the first to hear about our news
Popular blogs


